
Quick Benefits
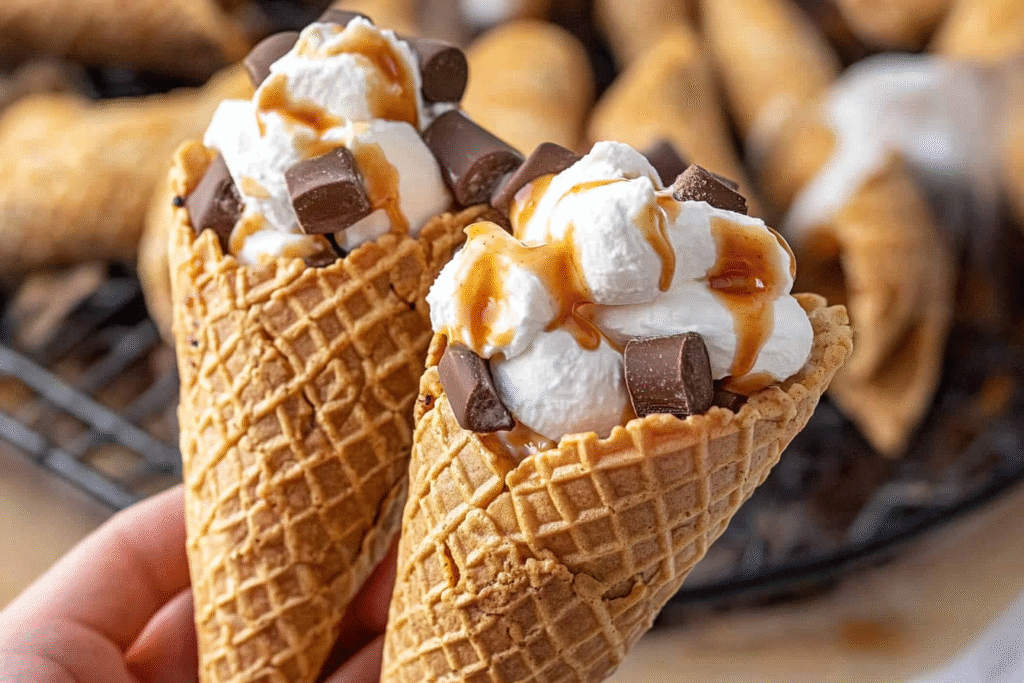
S’mores Campfire Cones are a fun, mess-free way to enjoy the classic campfire treat without needing an open fire. These easy-to-make cones offer several benefits:
- Simple and quick to prepare – Ready in minutes with minimal effort.
- Customizable – Use different chocolates, add peanut butter, or include fresh fruit.
- Perfect for all occasions – Great for camping, BBQs, or indoor gatherings.
- No sticky hands – A cleaner alternative to traditional s’mores.
Essential Ingredients
Gather these simple ingredients to make your S’mores Campfire Cones:
- Base Ingredients:
- Waffle cones
- Mini marshmallows
- Chocolate chips (any kind)
- Graham crackers, broken into small pieces
Preparation Steps
1. Fill the Cones
- Start by adding mini marshmallows to the bottom of each cone (about 1⁄4 to 1⁄3 full).
- Layer in chocolate chips, broken graham crackers, and more mini marshmallows until the cone is filled to the top.
- Gently pack the layers down to allow for shrinking while cooking.
2. Wrap in Foil
- Wrap each cone tightly in aluminum foil, covering the top first to prevent spillage.
- Fold the bottom and wrap up the sides securely.
3. Choose Your Cooking Method
Oven Method:
- Preheat oven to 350°F (175°C).
- Place wrapped cones on a baking sheet.
- Bake for 10-15 minutes or until the fillings are melted and gooey.
Campfire or Grill Method:
- Place wrapped cones over hot coals or grill grates.
- Cook for 5-7 minutes, turning occasionally.
- Remove from heat once the fillings are melted and the cone is slightly toasted.
4. Serve and Enjoy
- Let the cones cool for 1-2 minutes before unwrapping.
- Serve immediately while warm and gooey!
Health Benefits
While this is an indulgent treat, there are some positives:
- Portion-controlled – Served in a single cone for easy portioning.
- No need for extra equipment – A great alternative to traditional s’mores without roasting sticks.
- Customizable for healthier options – Swap in dark chocolate or add fresh fruit for extra nutrients.
Serving Suggestions
- Classic Style: Serve warm straight from the foil.
- Dessert Bar: Offer different mix-ins like peanut butter, caramel, or nuts.
- Kid-Friendly Party Treat: Set up a DIY station for kids to build their own cones.
- Pair with Ice Cream: Add a scoop of vanilla ice cream for an extra indulgent dessert.
Creative Variations
- Peanut Butter Lover’s Cone: Add peanut butter chips or a drizzle of peanut butter.
- Fruity Delight: Include sliced bananas or strawberries.
- Candy Lover’s Cone: Mix in Reese’s Pieces, M&Ms, or crushed Oreos.
- Nutty Crunch: Add crushed almonds, pecans, or coconut flakes.
Storage Tips
- Make-Ahead: Pre-fill and wrap cones, then store in a cool place until ready to cook.
- Short-Term Storage: Keep unbaked, wrapped cones in an airtight container for up to 2 days.
- Reheating: Warm in the oven at 350°F for 5 minutes or over a campfire.
Pro Tips
- Don’t overfill the cones – The ingredients expand when heated.
- Use different chocolate varieties – White, dark, or caramel-filled chocolate works great.
- Keep an eye on cooking time – Overheating can cause the cones to burn.
- Use heavy-duty aluminum foil – Prevents burning and retains heat better.
Frequently Asked Questions
Q: Can I make these cones without a campfire?
A: Yes! You can bake them in the oven or cook them on a grill.
Q: What’s the best way to keep them warm for serving?
A: Keep them wrapped in foil and place them in a warm area until ready to eat.
Q: Can I prepare these cones ahead of time?
A: Yes! Assemble and wrap them in foil up to a day in advance.
Enjoy these delicious S’mores Campfire Cones as a fun and easy treat for any occasion!
Leave a Comment