
Quick Benefits
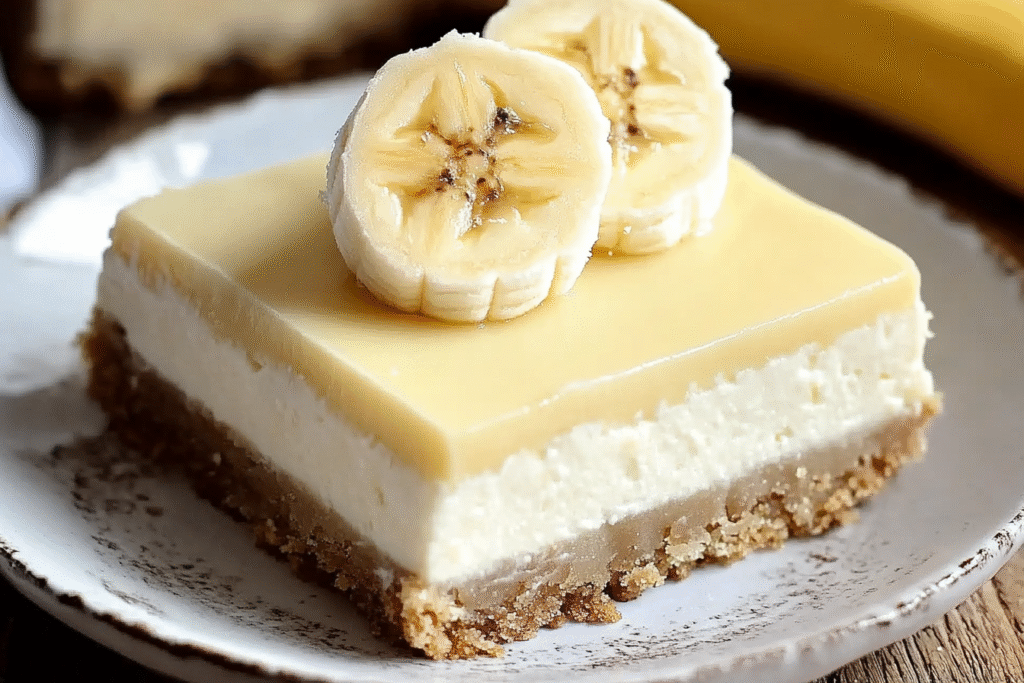
Banana Cream Cheesecake Bars are a dreamy no-bake dessert packed with flavor and texture. They offer a rich cheesecake layer infused with banana pudding atop a buttery Nilla Wafer crust. These bars are easy to make, require no oven time, and are perfect for feeding a crowd at parties, potlucks, or summer gatherings. Best of all, they’re refreshingly cool and creamy, making them a great treat year-round.
Essential Ingredients
- Crust:
- 3 cups Nilla Wafer cookie crumbs (about one 11 oz box)
- ½ cup butter, melted
- Filling:
- 1 pint heavy whipping cream
- ¾ cup sugar
- 24 oz cream cheese (3 x 8 oz packages), softened
- 2 (3.4 oz) packages instant banana cream pudding mix
- Optional Garnish:
- Whipped topping
- Banana slices
Preparation Steps
- Make the crust:
In a medium bowl, mix Nilla Wafer crumbs and melted butter until fully coated. Press the mixture into an 8×8-inch pan lined with parchment paper. Chill in the fridge or freezer. - Whip the cream:
In a large bowl, use an electric mixer to beat the heavy cream and sugar until stiff peaks form. Set aside. - Prepare the filling:
In another bowl, beat the softened cream cheese until smooth. Gradually add the dry pudding mixes, blending well. - Combine:
Gently fold the whipped cream into the cream cheese mixture until fully incorporated and smooth. - Assemble:
Spread the banana cheesecake filling evenly over the chilled crust. Cover and refrigerate for at least 8 hours, or overnight. - Serve:
Cut into 9 bars. Garnish with banana slices and whipped topping just before serving.
Health Benefits
While Banana Cream Cheesecake Bars are a decadent dessert, they offer some perks:
- Bananas provide potassium, fiber, and natural sweetness.
- Cream cheese and heavy cream add calcium and healthy fats (when eaten in moderation).
- Portion control is easy—cut into bars for measured servings.
For a lighter version, try reduced-fat cream cheese and light whipped topping.
Serving Suggestions
- Best served cold, straight from the fridge.
- Garnish with fresh banana slices, a mint sprig, or white chocolate shavings for presentation.
- Pair with vanilla ice cream or chilled coffee for an indulgent dessert plate.
These are perfect for:
- Baby showers
- BBQs
- Family potlucks
- Summer desserts
Creative Variations
- Add mashed banana to the filling for extra flavor and creaminess.
- Switch the crust using graham crackers, shortbread cookies, or digestive biscuits.
- Make it tropical by folding in crushed pineapple and topping with coconut flakes.
- Add crunch with a layer of crushed peanuts or toffee bits over the crust before adding the filling.
Storage Tips
- Store covered in the refrigerator for up to 4 days.
- For longer storage, freeze individual bars on a tray, then transfer to an airtight container for up to 1 month. Thaw in the fridge overnight.
- Add banana slices only before serving to prevent browning.
Pro Tips
- Use room temperature cream cheese to avoid lumps.
- Chill the crust well so it holds together and doesn’t crumble when sliced.
- Line your pan with parchment for easy lifting and cutting.
- Use a sharp knife wiped clean between slices for perfect presentation.
Frequently Asked Questions
Q: Can I make these bars ahead of time?
A: Yes! These bars are ideal for make-ahead prep. Just wait to garnish with banana slices until serving time.
Q: Can I use whipped topping instead of whipping cream?
A: Yes, 2 cups of whipped topping can replace the homemade whipped cream if you’re short on time.
Q: What size pan should I use?
A: An 8×8-inch square pan is recommended for thick, bakery-style bars. You can double the recipe for a 9×13-inch pan.
Q: Can I use fresh banana puree instead of pudding mix?
A: While it’s possible, the texture may be looser. The pudding mix adds structure and a consistent banana flavor.
Nutrition Facts (Approximate per serving, 1 of 9 bars)
- Calories: 420
- Fat: 29g
- Saturated Fat: 17g
- Carbohydrates: 37g
- Sugar: 27g
- Protein: 5g
- Fiber: 1g
Leave a Comment